How To Download Complementary Unbound Shaders For Minecraft!
 mcpecentraladmin

Looking to make Minecraft 1.21.9 look ultra-realistic with stunning lighting, vibrant colors, and cinematic reflections? The Complementary Unbound Shaders are one of the most beautiful and optimized shader packs ever made — perfect for players who want both performance and quality.
In this tutorial, I’ll show you step-by-step how to download and install Complementary Unbound Shaders using the Iris Shader Loader. This guide is beginner-friendly and 100% working for Minecraft Java Edition 1.21.9.
What Are Complementary Unbound Shaders?
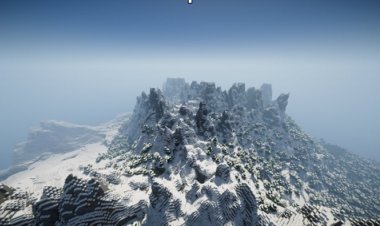
The Complementary Unbound Shaders are an advanced shader pack built on the BSL shader base, offering beautiful lighting, lifelike shadows, reflective water, and atmospheric effects. It’s known for being one of the most realistic and customizable shaders in Minecraft — perfect for survival, builds, and cinematic gameplay.
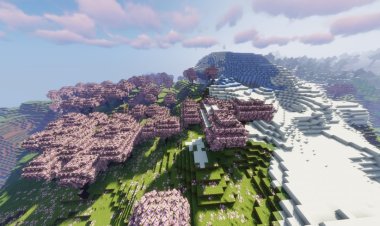
Whether you’re exploring caves or admiring a sunset, Complementary Unbound transforms Minecraft into a masterpiece.
???? Download Complementary Unbound Shaders here:
https://www.curseforge.com/minecraft/shaders/complementary-unbound
Step-by-Step Guide: How To Download Complementary Unbound Shaders (2025)
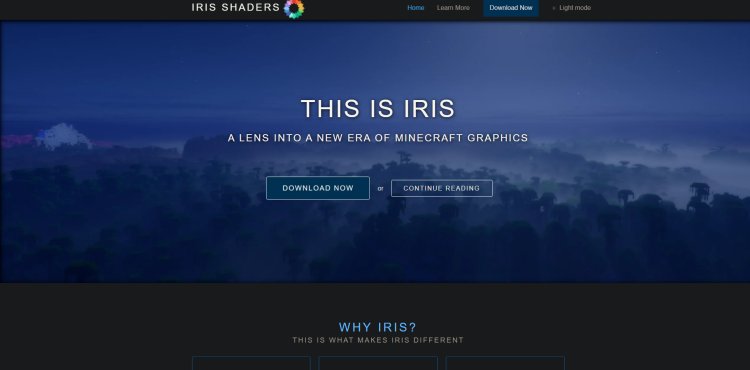
Step 1: Download the Iris Shader Loader
To run Complementary Unbound, you’ll need Iris Shader Loader, a lightweight and modern alternative to OptiFine that supports Fabric mods.
-
Visit the official Iris website or search “Iris Shaders download”
-
Download the Iris installer (.jar) file for Minecraft 1.21.9: https://www.irisshaders.dev/
Step 2: Download Complementary Unbound Shaders
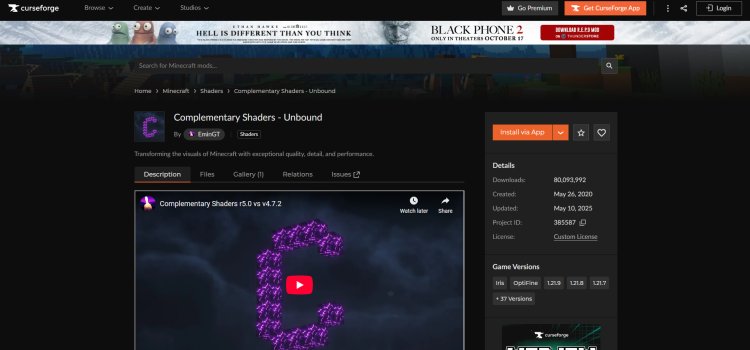
Click the official CurseForge link below to get the shader pack:
???? Complementary Unbound Shaders – CurseForge
After downloading, keep the .zip file — don’t extract it.
Step 3: Install Java to Open .jar Files

If your computer can’t open .jar files, you’ll need Java.
Download it from the official Oracle website:
???? Download Java Here
Once installed, you can open the Iris installer normally.
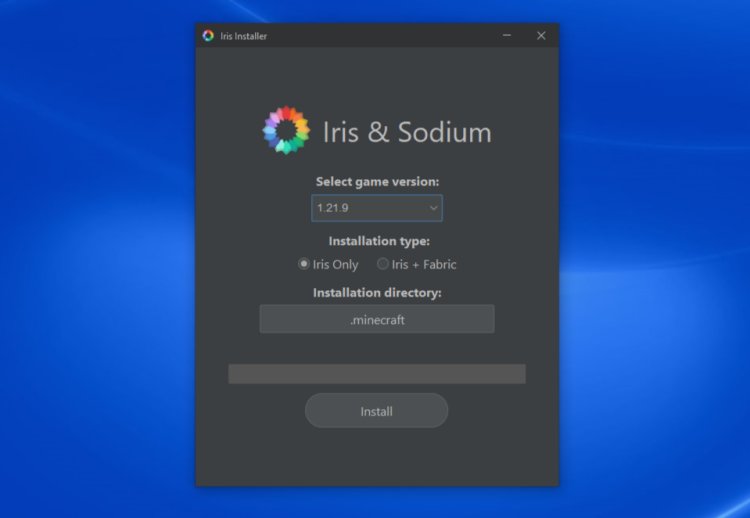
Step 4: Open the Iris Installer
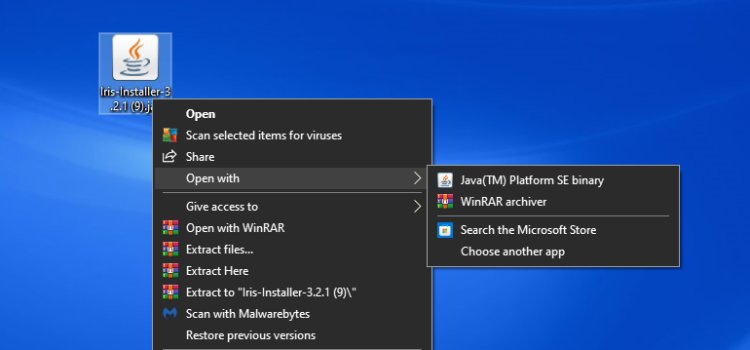
-
Double-click the Iris installer (.jar) file
-
Choose Minecraft version 1.21.9
-
Click Install to automatically set it up in your Minecraft Launcher
Step 5: Locate the Iris Installation in Minecraft
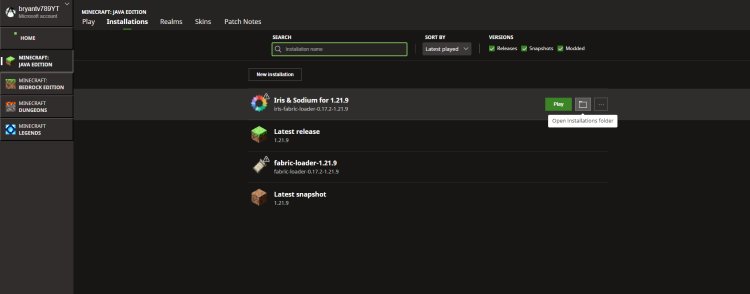
-
Open your Minecraft Launcher
-
Click the drop-down arrow next to Play and select Iris & Sodium (1.21.9)
-
Click the folder icon to open the installation directory
Step 6: Add the Shader to Minecraft
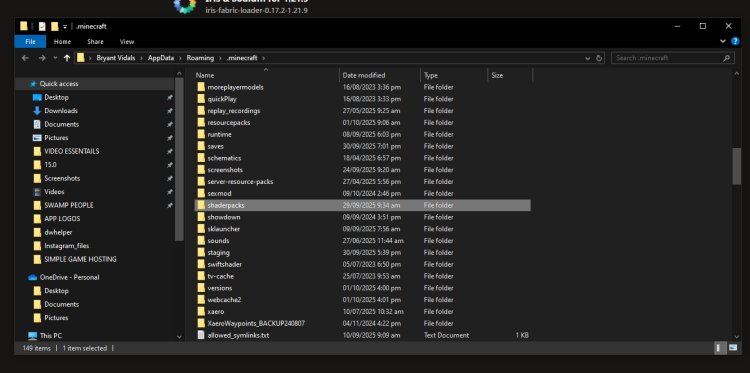
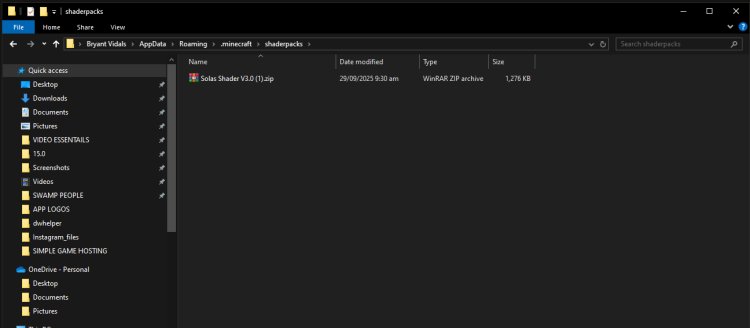
Inside your Minecraft folder, find the “shaderpacks” folder.
Now drag and drop the Complementary Unbound .zip file you downloaded earlier into that folder.
Step 7: Launch Minecraft and Enjoy!
Open Minecraft using the Iris & Sodium installation.
-
Go to Options → Video Settings → Shader Packs
-
Select Complementary Unbound
-
Click Apply, and enjoy your new realistic Minecraft world!
???? Tips For The Best Experience:
-
Enable High-Performance GPU Mode in your graphics settings.
-
Adjust shader settings for better FPS if needed.
-
Use Sodium (included with Iris) for massive FPS boosts.