How To Get PROXIMITY CHAT In Minecraft Bedrock!
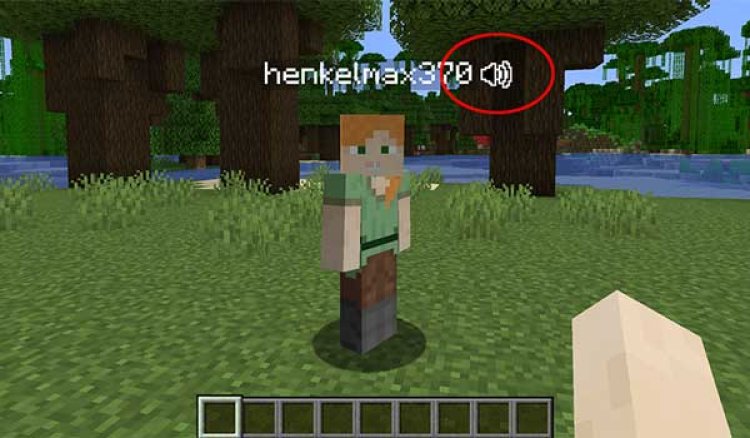
How To Get PROXIMITY CHAT In Minecraft Bedrock!
Minecraft Bedrock has been a beloved gaming platform, allowing players from around the world to craft, build, and explore in the iconic blocky universe. However, one feature that many players have longed for is proximity chat – the ability to communicate with others based on their in-game distance. While proximity chat isn't natively supported in Minecraft Bedrock, a solution has emerged that brings this immersive feature to Windows 10 and Windows 11 devices. It's important to note that, at the time of writing, mobile platforms are not yet supported in this method. In this article, we will guide you through the steps to achieve proximity chat using the Mumble app and the OnixClientMumbleLink plugin.
Step 1: Download and Install Mumble
To begin, you'll need to download the Mumble app from the provided link in this article. Mumble is a voice chat application that will serve as the foundation for your proximity chat experience. Once downloaded, install the application.
LINK: https://www.mumble.info/downloads/
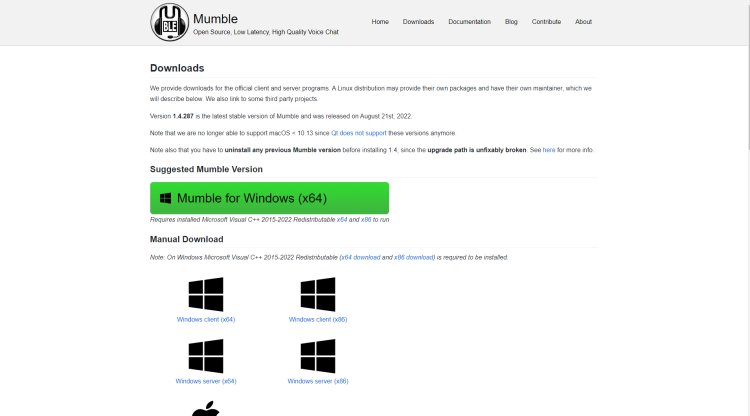
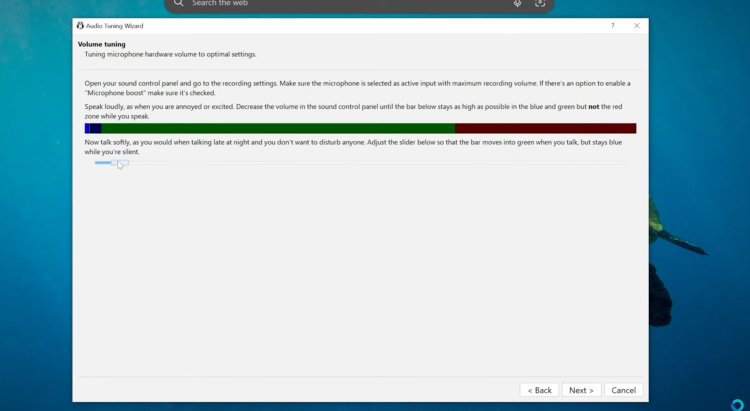
Step 2: Adjust Mumble Settings
Upon opening Mumble, take your time to adjust the settings according to your preferences. While this might take a while, the effort is undoubtedly worth it to ensure a seamless experience.
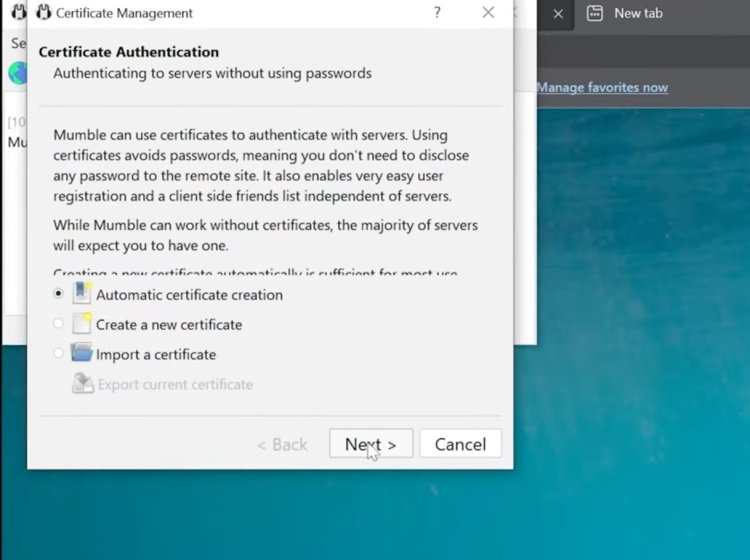
Step 3: Certificate Authentication
Proceed to press "Next" on the certificate authentication page.
Step 4: Download OnixClientMumbleLink
In the article, you'll find a link to download the "OnixClientMumbleLink" app. Be assured that all files linked in the article are safe for your device.
LINK (download in the discord server): https://discord.gg/onixclient
Step 5: Fine-tuning Mumble Settings
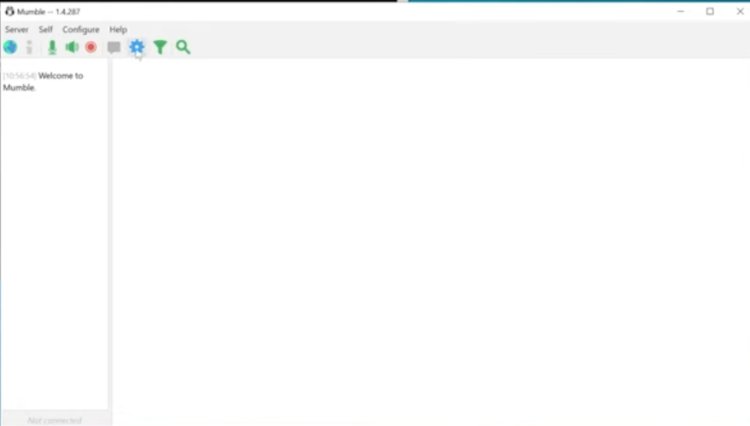
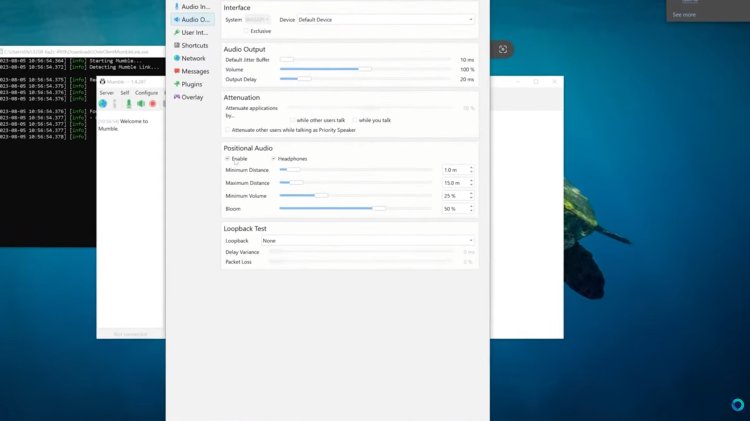
Launch Mumble and navigate to the "settings" icon. From there, click on the second tab labeled "Audio Output."
Step 6: Enable Positional Audio
Under the "Positional Audio" section, enable the "Positional Audio" option.
Step 7: Adjust Positional Audio Settings
Configure the positional audio settings as follows:
- Minimum Distance: 3 meters
- Maximum Distance: 64 meters
- Minimum Volume: 0%
- Leave the bloom setting as it is.

Step 8: Enable Plugin - Link to Game and Transmit Position
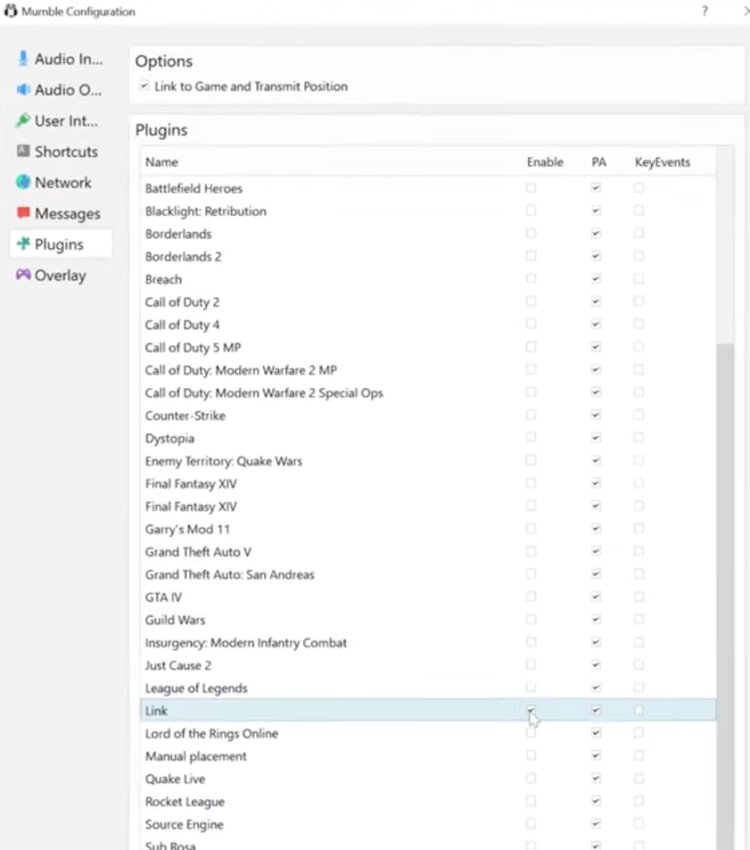
Navigate to the "plugins" tab and enable the "Link to Game and Transmit Position" plugin.
Step 9: Enable the "Link" Plugin
Scroll through the list of plugins and locate the one named "Link." Enable this plugin and click "Apply."
Step 10: Launch Minecraft with Onix Client
Launch the Onix Client and enter a Minecraft world.
Step 11: Activate Proximity Chat Module
Open the Onix Client user interface and locate the module labeled "proximity chat." Enable this module to activate proximity chat functionality.

With these steps completed, you should now be able to enjoy proximity chat in Minecraft Bedrock on your Windows 10 or Windows 11 device. Communicate with other players dynamically based on your in-game distance, adding an extra layer of realism and immersion to your Minecraft adventures.
Remember that technology and applications may change over time, so it's always a good idea to stay updated with the latest information and community discussions regarding proximity chat in Minecraft Bedrock. Now, gather your friends and venture forth into the world of Minecraft with an enhanced level of communication and camaraderie!
If you got confused at any point check out this other tutorial made by the Onix Client team:

 mcpecentraladmin


