How To Download Iris Shaders For Minecraft 1.21.9 (Step-By-Step Tutorial)
 mcpecentraladmin
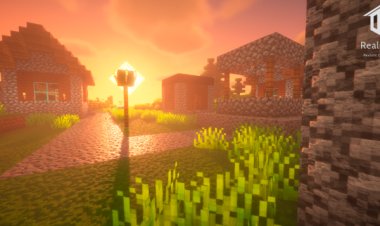
If you want to make Minecraft 1.21.9 look absolutely stunning with realistic lighting, reflections, and shadows, then installing Iris Shaders is the best way to do it. Unlike other shader loaders, Iris is lightweight, fast, and fully compatible with OptiFine shaderpacks—perfect for enhancing your Minecraft graphics while keeping high performance.
In this tutorial, I’ll show you how to download and install Iris Shaders for Minecraft 1.21.9 step by step, including all the links you’ll need. By the end, you’ll be running smooth, beautiful shaders in-game.
Why Use Iris Shaders for Minecraft 1.21.9?
-
Optimized for performance compared to other shader loaders.
-
Works with most Minecraft shaderpacks like BSL, Sildur’s, and SEUS.
-
Fully updated and compatible with the latest Minecraft 1.21.9 release.
-
Easy to install with a clean user interface.
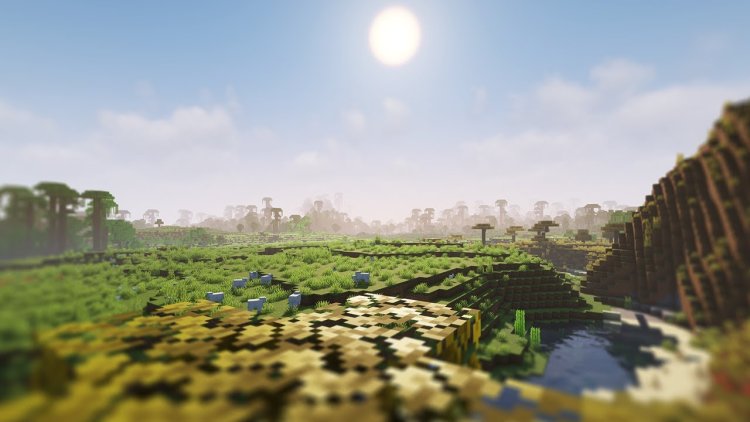
Whether you’re going for realistic water reflections, cinematic sunsets, or smooth lighting effects, Iris is the go-to choice in 2025 for shader support in Minecraft Java Edition.
Step-By-Step Guide: Installing Iris Shaders in Minecraft 1.21.9
Step 1: Download the Iris Shaders Installer
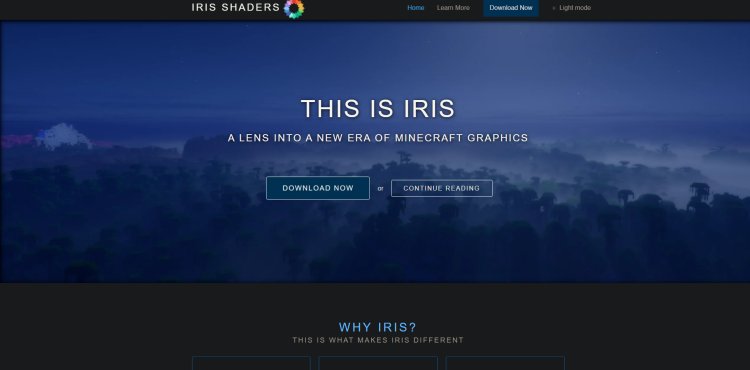
Head to the official Iris Shaders website: Download Iris Shaders here.
???? Make sure you download the Universal .jar file, as this is required for installation.
Step 2: Download a Shader Pack

To actually see visual improvements, you’ll need a shader pack. A great place to find safe and popular shaders is CurseForge.
???? Browse and download your favorite shader (for example: BSL Shaders, Complementary Reimagined, or Sildur’s Vibrant Shaders).
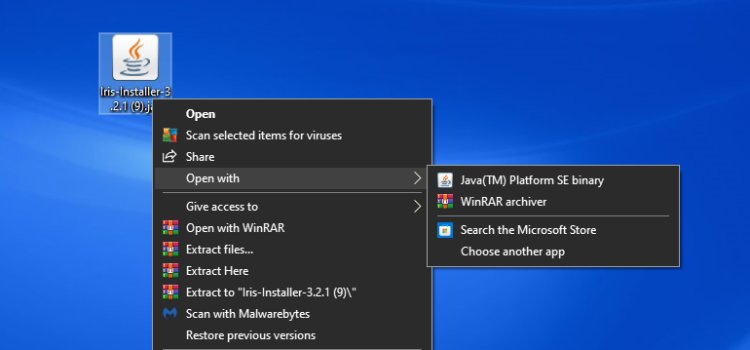
Step 3: Download Java

Since the Iris installer is a .jar file, you’ll need Java to run it. Download the latest version here: Download Java.
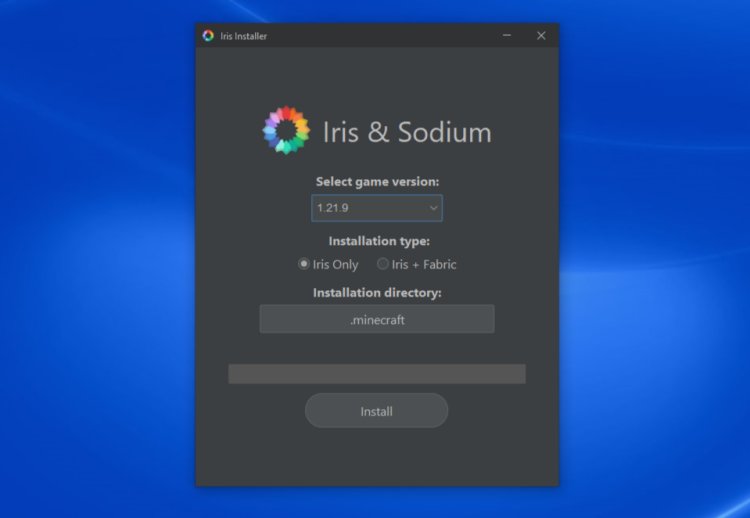
Step 4: Run the Iris Installer
-
Open the Iris installer using Java.
-
Select the version “1.21.9” from the dropdown.
-
Click Install, and Iris will automatically install itself as a profile in your Minecraft Launcher.
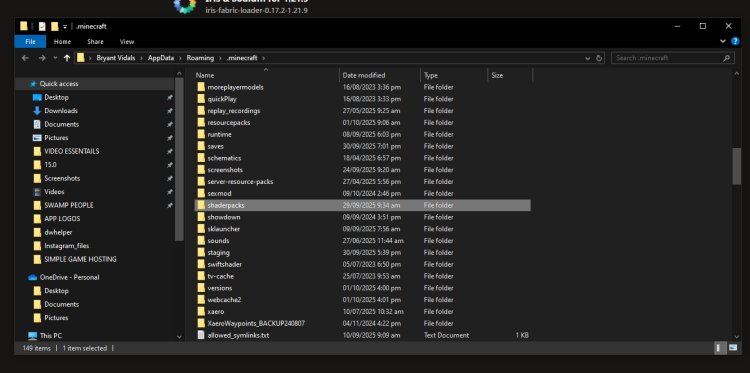
Step 5: Locate the Shaderpacks Folder
-
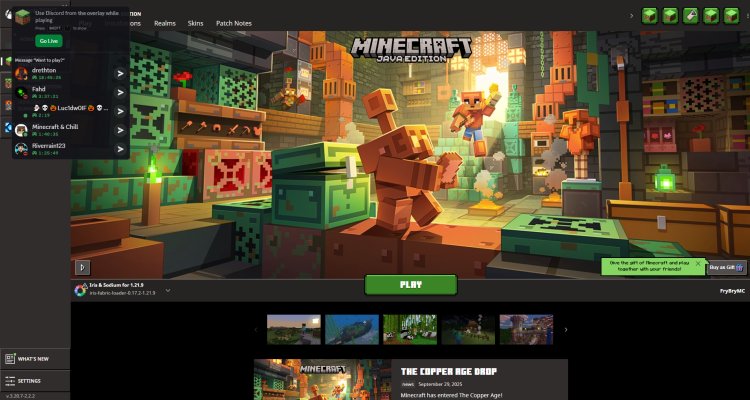
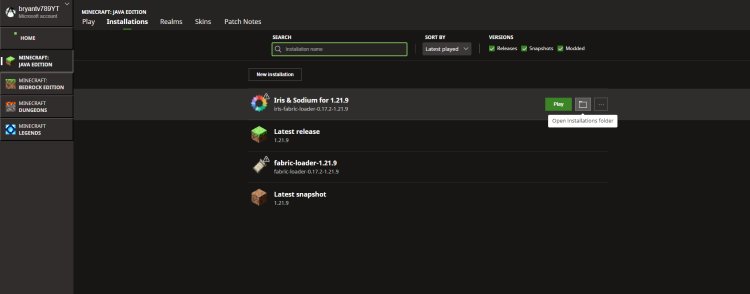
Open your Minecraft Launcher and select the Iris 1.21.9 installation.
-
Once Minecraft loads, click Options → Video Settings → Shaderpacks.
-
This will open the shaderpacks folder on your computer.
Step 6: Add Your Shader Pack
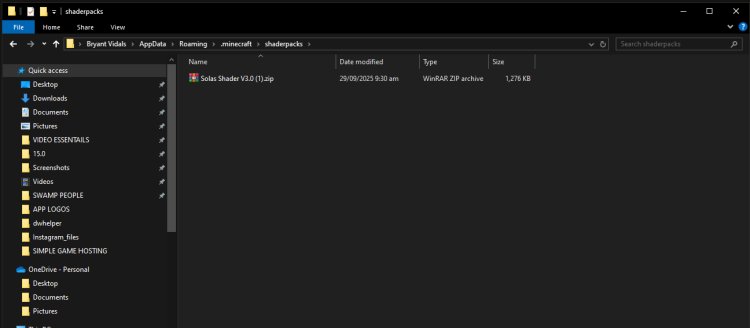
-
Drag and drop your downloaded shader pack into the shaderpacks folder (make sure it’s in
.zipformat). -
Restart Minecraft and select your shader from the list.
Step 7: Enjoy Iris Shaders in Minecraft!
That’s it! You’ve successfully installed Iris Shaders on Minecraft 1.21.9. Now you can explore your worlds with realistic lighting, shadows, and stunning visuals.
Final Thoughts
Installing Iris Shaders for Minecraft 1.21.9 is simple and transforms the game into a cinematic experience. By following these steps, you’ll unlock the best shaders for Minecraft in just a few minutes.
???? Quick Links Recap:
Now go ahead, install your shaders, and make your Minecraft world look like real life!
Do you want me to also create a meta description + SEO tags (title + keywords) that you can copy-paste directly for YouTube or blog posting? That way this article will be fully optimized for ranking.