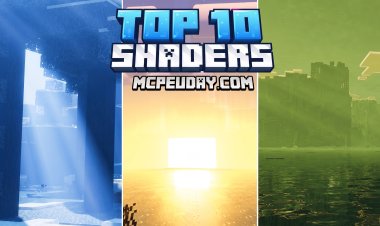
How to Download Shaders for Minecraft 1.21.6 - Tutorial (Chase the Skies Update)
 mcpecentraladmin
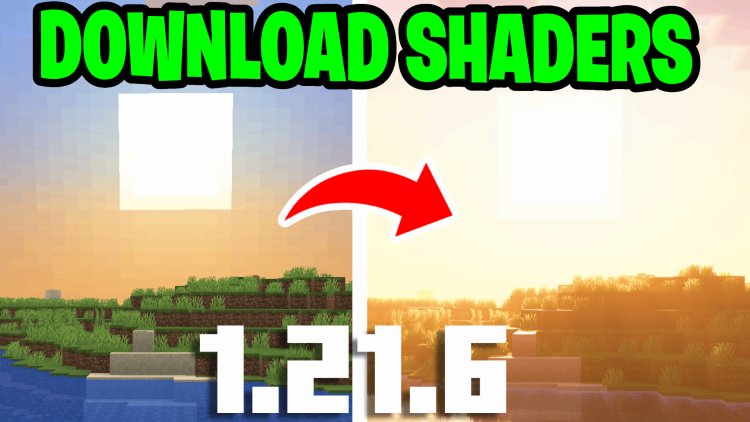
How to Download Shaders for Minecraft 1.21.6 - Tutorial (Chase the Skies Update)
Transform your Minecraft 1.21.6 experience with stunning visuals using shaders! The "Chase the Skies" update introduces exciting features, and adding shaders elevates your gameplay with breathtaking lighting, shadows, and textures. This SEO-optimized guide provides a step-by-step tutorial on how to download and install shaders for Minecraft 1.21.6 using the Iris Shader Loader. Follow these instructions to achieve jaw-dropping graphics and optimize your setup for the best performance. Keywords: Minecraft 1.21.6 shaders, download shaders Minecraft 1.21.6, Iris shaders tutorial, Chase the Skies shaders, Minecraft shader packs 2025.
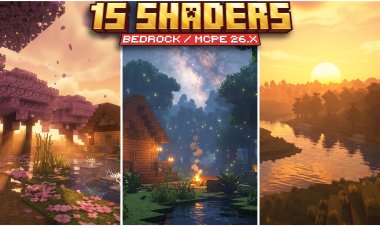
Step-by-Step Guide to Install Shaders for Minecraft 1.21.6
Step 1: Launch Minecraft 1.21.6 via the Minecraft Launcher
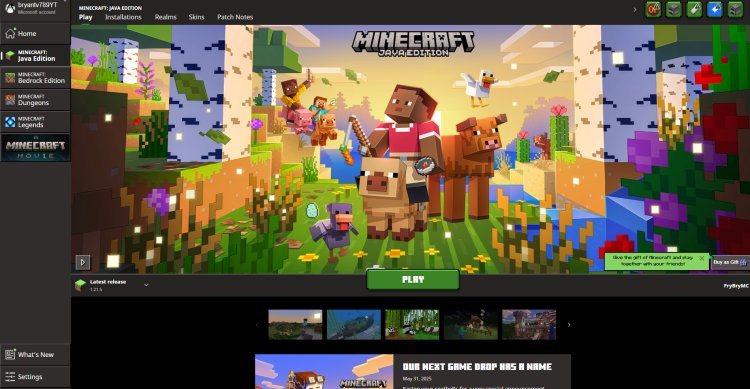
Open the Minecraft Launcher and select version 1.21.6 (Chase the Skies update) from the dropdown menu next to the "Play" button. If you don’t see this version, ensure your launcher is updated. Click "Play" to load the game and verify it runs smoothly before proceeding.
Pro Tip: Ensure you have a stable internet connection to avoid launch issues.
Step 2: Download the Iris Shader Loader
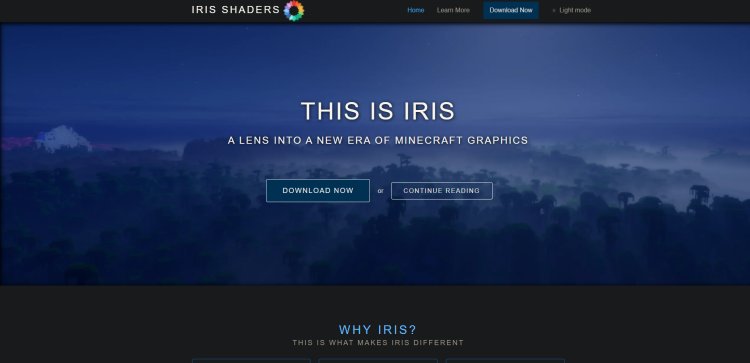
The Iris Shader Loader is a lightweight mod that enables shader support for Minecraft 1.21.6. Visit the official Iris website or a trusted mod platform like Modrinth to download the latest Iris Installer (.jar file) compatible with Minecraft 1.21.6. Save the file to an easily accessible folder.
Keyword Focus: Iris shaders Minecraft 1.21.6, download Iris shader loader.
Step 3: Download a Compatible Shader Pack

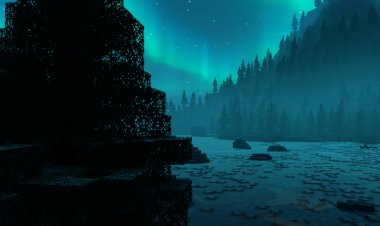
Browse and download a shader pack compatible with Iris and Minecraft 1.21.6 from Modrinth’s shader category. Popular choices include Complementary Shaders, BSL Shaders, and Sildur’s Vibrant Shaders. Ensure the shader pack is a .zip file and matches version 1.21.6 for optimal performance.
SEO Tip: Search for "best shaders for Minecraft 1.21.6" to find community-recommended packs.
Step 4: Install Java for .jar Files
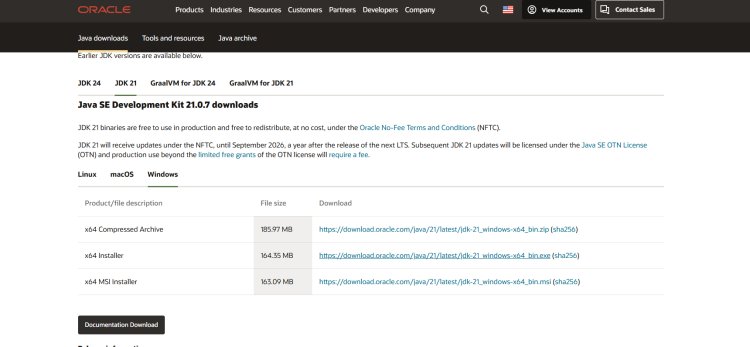
Shaders and the Iris Installer require Java to run .jar files. Download and install Java 21 from the official Oracle website: Java 21 Downloads. Follow the installation prompts, ensuring you select the version compatible with your operating system (Windows, macOS, or Linux).
Note: Most modern systems have Java pre-installed, but installing the latest version ensures compatibility.
Step 5: Run Jarfix (If Needed)
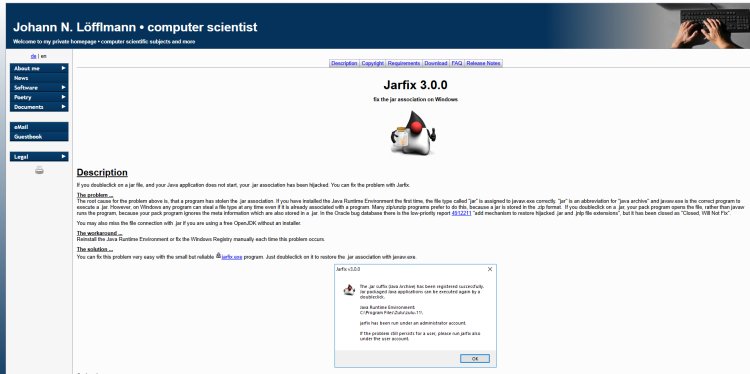
If you encounter issues opening .jar files (e.g., they open as archives or not at all), download and run Jarfix from Johann Loefflmann’s website. This tool fixes file associations, ensuring .jar files execute correctly with Java. Run Jarfix and follow the prompts—skip this step if .jar files work fine.
Keyword: Fix .jar files Minecraft shaders, Jarfix tutorial.
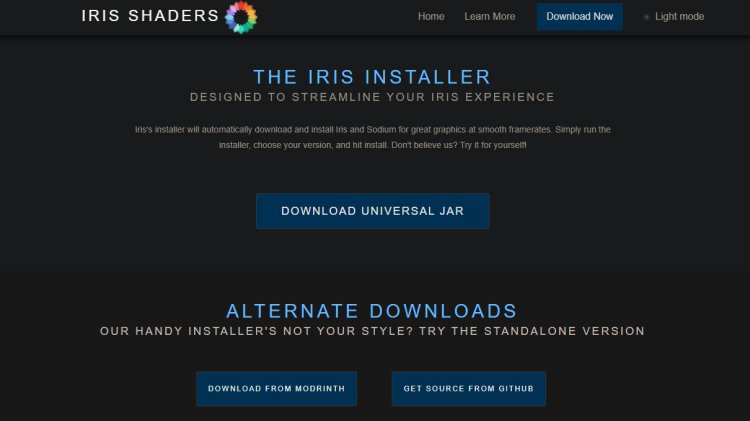
Step 6: Install Iris Shaders
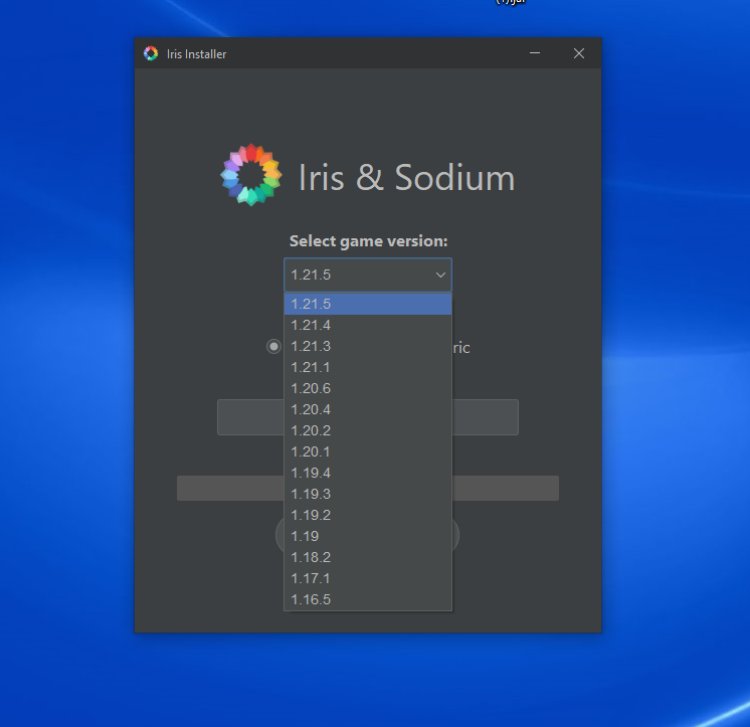
With Java installed, double-click the Iris Installer (.jar file) downloaded in Step 2. A setup window will appear. Select Minecraft 1.21.6 from the version dropdown menu and click “Install”. This adds an Iris Shaders profile to your Minecraft Launcher, integrating Iris into your game for shader support.
Pro Tip: Check the installation path to ensure Iris installs to your Minecraft directory.
Step 7: Launch Minecraft with Iris

Open the Minecraft Launcher, select the Iris Shaders profile from the version dropdown, and click “Play”. This launches Minecraft 1.21.6 with Iris enabled, ready for shader packs. Verify the game loads without errors before proceeding.
SEO Focus: Iris shaders setup Minecraft 1.21.6, launch Minecraft with shaders.
Step 8: Add and Enable Shader Packs


In Minecraft 1.21.6, navigate to Options > Video Settings > Shader Packs. Click “Open Shader Pack Folder” to access the shader directory. Drag and drop the shader pack (.zip file) downloaded in Step 3 into this folder. Return to the game, select the shader from the list, and click “Apply”. Your Minecraft 1.21.6 world will now feature stunning shader effects!
Keyword: Enable shaders Minecraft 1.21.6, shader pack installation tutorial.
Recommended Resource: FryBry’s Video Tutorial
For a visual guide, check out FryBry’s YouTube video tutorial on installing shaders for Minecraft. FryBry breaks down each step clearly, making it easy to follow along. Search for “FryBry Minecraft 1.21.6 shaders tutorial” on YouTube to find the video.
SEO Tip: Including trusted YouTubers boosts credibility and search rankings.
Troubleshooting Common Shader Issues
-
Game Crashes: Ensure your shader pack and Iris version match Minecraft 1.21.6. Update your graphics drivers for better performance.
-
Low FPS: Use lightweight shaders like Sildur’s Basic Shaders or lower your render distance in Video Settings.
-
.jar File Errors: Reinstall Java or run Jarfix as described in Step 5.
-
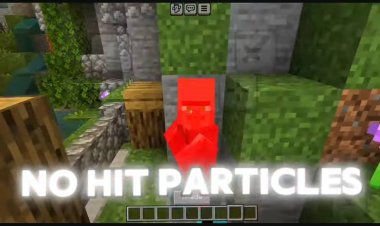
Shaders Not Appearing: Verify the shader pack is a .zip file and placed in the correct folder.
Optimize Your Minecraft 1.21.6 Shader Experience
To maximize performance in the "Chase the Skies" update:
-
Allocate more RAM to Minecraft via the launcher’s JVM arguments (e.g., -Xmx4G for 4GB).
-
Use a high-performance graphics card for smoother shader rendering.
-
Experiment with different shader packs to find one that balances visuals and FPS.
Conclusion
Installing shaders for Minecraft 1.21.6 is a game-changer, bringing the "Chase the Skies" update to life with stunning visuals. By following this tutorial, you’ve learned how to download and set up Iris Shaders, install Java, and enable shader packs for an immersive experience. For additional help, watch FryBry’s video tutorial and explore Modrinth for the latest shader packs. Share your epic shader-enhanced screenshots with the Minecraft community!
Keywords: Minecraft 1.21.6 shaders tutorial, Chase the Skies shaders guide, Iris shaders 2025, best Minecraft shader packs.